Pool liner replacement involves identifying damage signs like cracks, tears, and wrinkles. You’ll need to choose between overlap, beaded, or unibead liners and measure precisely for a proper fit. Consider material thickness, installation method (DIY vs professional), and budget for materials, installation, and water refill costs. Proper preparation and post-installation maintenance are vital for extending your liner’s lifespan. The details that follow will help you navigate this significant pool investment with confidence.
Signs Your Pool Liner Needs Replacement
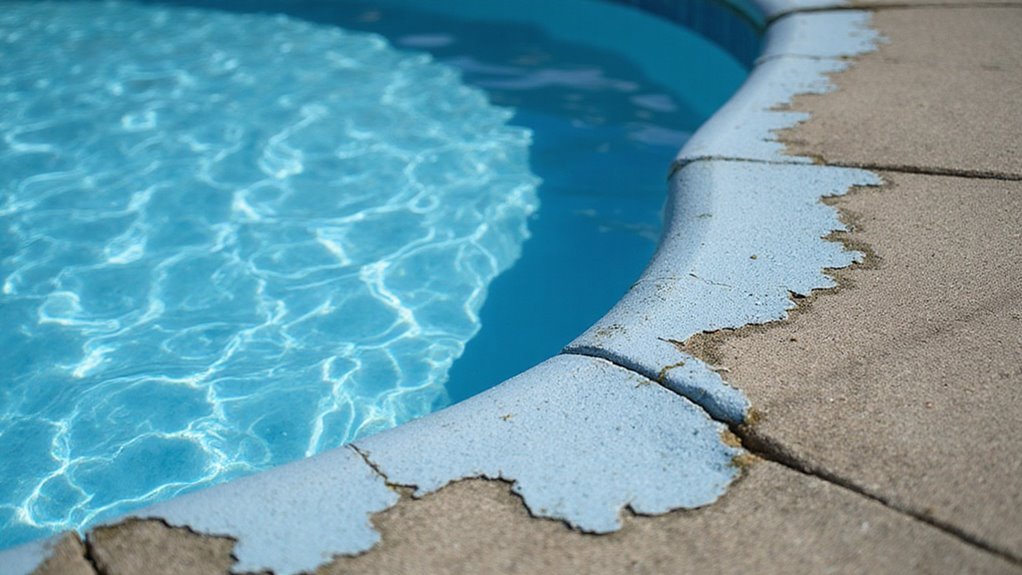
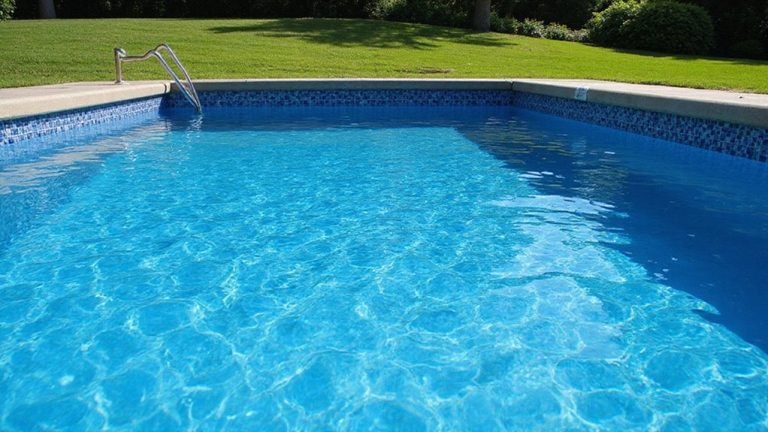
While pool liners are designed to last for years, they’ll eventually show signs of deterioration that indicate replacement is necessary. Look for cracks and tears, especially near waterlines, caused by UV exposure and chemicals. Small tears might be patched, but recurring damage means it’s time for a new liner.
Watch for discoloration and staining that won’t respond to chemical cleaning, indicating the liner material is oxidizing and becoming brittle. Wrinkles and shrinkage around water returns or steps suggest the liner has lost elasticity and is pulling away from its track. Regular inspections can help identify stretching or wrinkling early on. Failing to replace a damaged liner can result in increased energy costs and significant water loss over time.
Most importantly, monitor water levels. If you’re losing more than an inch in two weeks, you likely have a leak that could damage your pool’s structure and foundation. Delaying replacement when problems arise can lead to additional damage to surrounding pool structures like decks and coping. Vinyl liners in above ground pools typically last 6-12 years with proper maintenance and care.
Different Types of Pool Liners Explained
The selection of your pool liner substantially impacts both aesthetics and functionality, with several distinct types available for different pool configurations.
Overlap liners attach with coping strips and clips, offering budget-friendly solutions for standard above-ground pools. They’re easy to install but provide limited design options. When installing overlap liners, you’ll need to remove the top rail and drape the liner over the wall.
Beaded liners snap into pre-installed tracks, creating a clean finish with premium design options like tile borders. They’re the easiest to replace but require precise measurements.
Unibead/J-Hook liners provide versatility with dual attachment options—either snapping into bead tracks or clipping over pool rims without coping strips.
| Liner Type | Best For | Key Benefit |
|---|---|---|
| Overlap | Budget-conscious | Simplicity |
| Beaded | Design options | Clean finish |
| Unibead | Versatility | Dual installation |
Measuring Your Pool for the Perfect Liner Fit
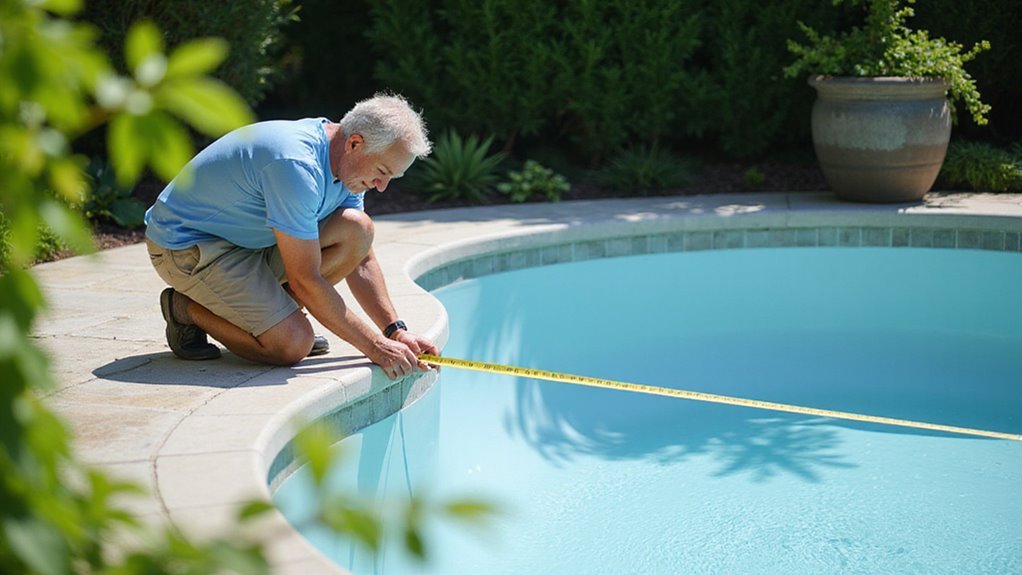
Accurate measurements form the cornerstone of a successful pool liner replacement, determining whether your new liner fits perfectly or creates frustrating wrinkles and gaps. You’ll need precision tools like 100ft fiberglass tapes, plumb bobs, stakes, and telescopic poles with markings.
Always measure slope horizontally, not along the angle. For depth measurements, use different techniques for full pools (add water depth + distance from waterline to bead receiver) versus empty ones (subtract coping height from total vertical measurement).
Pay special attention to corners—whether radius, diagonal, or square—and always measure at the actual walls beneath the coping. For validation, verify that your total length equals the sum of individual segments. Never assume symmetry, even in seemingly uniform pools, and avoid measuring from hopper pad centers to prevent costly errors.
Cost Factors to Consider When Replacing a Liner
Replacing your pool liner represents a significant investment that varies widely based on multiple factors, each contributing to the final price tag you’ll face. Your pool’s size and shape dramatically impact costs, with custom or free-form designs requiring specialized installation techniques.
| Cost Factor | Inground | Above-ground |
|---|---|---|
| Liner Materials | $700-$1,500 | $150-$900 |
| Installation | $1,100-$2,600 | $400-$800 |
| Total Average | $2,300-$4,100 | $550-$1,700 |
Material thickness matters too—28-30 mil vinyl liners cost more upfront ($900-$1,500) but offer better durability. Don’t forget to budget for draining/refilling ($500-$700) and old liner removal. Proper maintenance can extend your liner’s life beyond the typical 7-10 year replacement cycle, saving thousands in lifetime costs.
DIY vs. Professional Installation: Weighing Your Options
When deciding between DIY and professional pool liner installation, you’re fundamentally weighing immediate cost savings against long-term reliability. While handling installation yourself eliminates labor costs and offers scheduling flexibility, it requires advanced knowledge of vinyl handling and pool anatomy.
Professional installation provides technical expertise, guaranteed results with warranties, and time efficiency through specialized equipment. Professionals also certify compliance with local codes and offer access to higher-quality materials.
Consider your skill level honestly—improper DIY installation risks structural damage, measurement errors, and voided warranties. For inground pools, the stakes are particularly high, as improper draining can cause the pool to “pop” or shift. Above-ground installations are generally more DIY-friendly with standardized components, but still require precision to avoid wrinkles and misalignment.
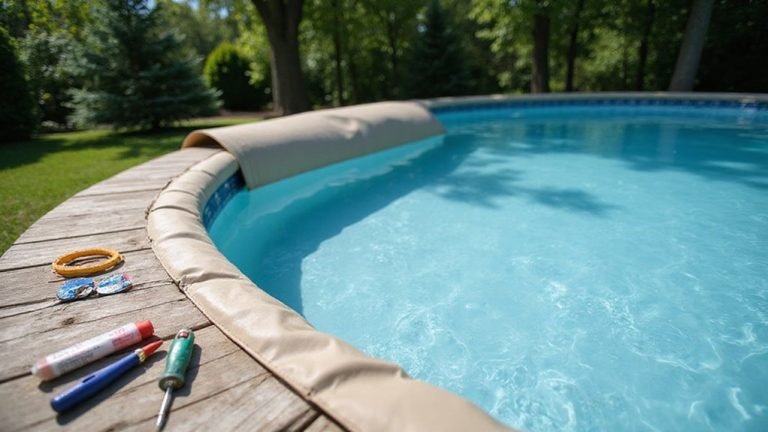
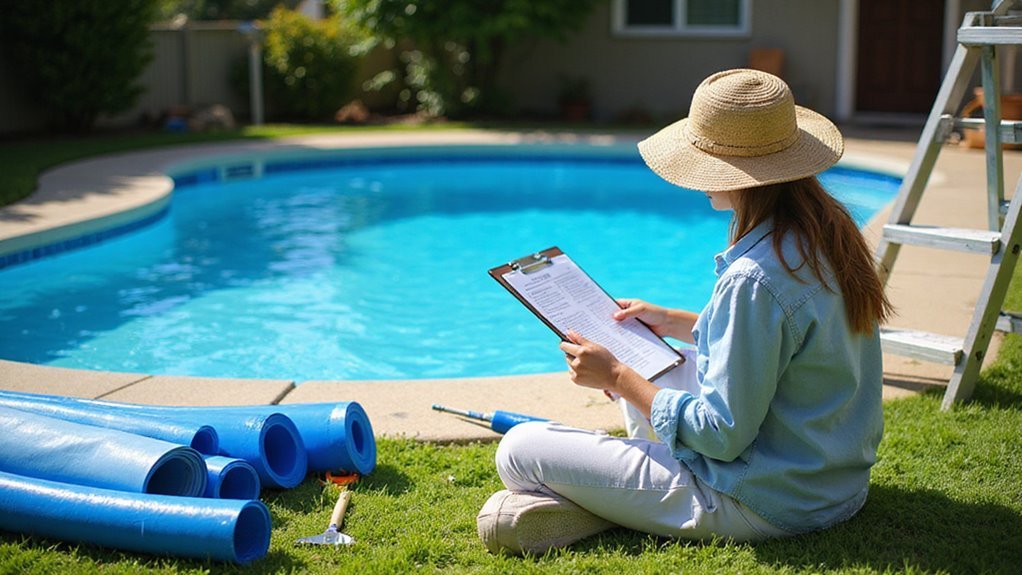
Essential Tools and Materials for Liner Replacement
Successful pool liner replacement requires five categories of essential tools and materials, each serving a critical function in the installation process. You’ll need specialized equipment like a liner vacuum or shop vac to smooth wrinkles, plus basic tools including razor knives, screwdrivers, and a cordless drill for removing old hardware and securing new components.
Critical materials for your project include:
- A custom-cut vinyl liner precisely sized for your pool
- New gaskets and faceplates for all penetrations (skimmers, returns, drains)
- Wall foam/adhesive and floor repair materials to create a smooth surface
Don’t overlook weather conditions—install in temperatures between 60-90°F to guarantee proper stretching without warping. Proper disposal planning and site preparation are equally important for success.
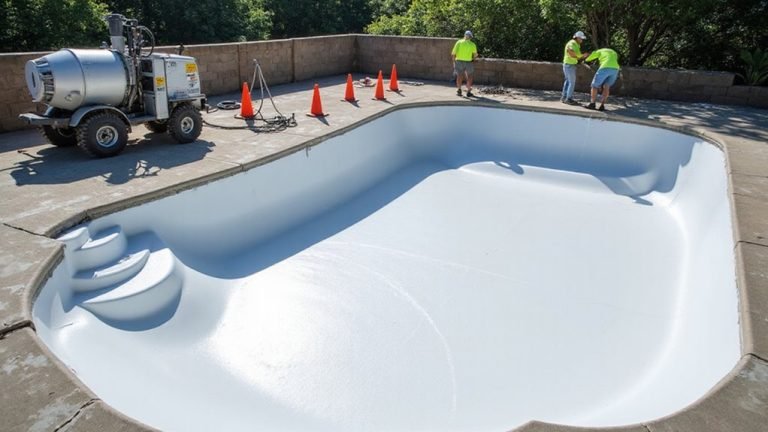
Step-by-Step Pool Liner Installation Guide
A thorough pool liner installation requires careful planning and precise execution to guarantee a watertight, wrinkle-free finish that will last for years.
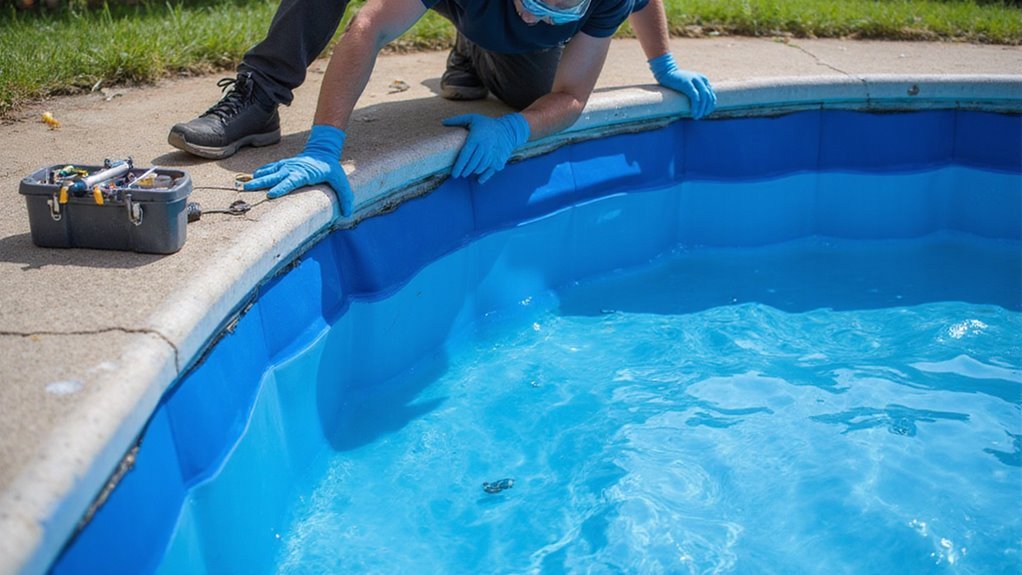
Begin by draining the pool and neutralizing the water chemistry. Choose a sunny day with moderate temperatures in the 60s°F and gather 2-4 helpers. Prepare your pool by cleaning the floor and replacing gaskets.
When installing, first unpack and orient the liner following manufacturer’s tags. Lock the bead into the track starting at corners while maintaining even tension. Set up a powerful shop vac to create suction behind the liner, which helps eliminate wrinkles.
After securing the liner, start filling immediately. Install faceplates and trim components as the water level rises. Monitor for leaks and perform a final inspection to verify proper alignment and seal integrity.
Common Mistakes to Avoid During Liner Installation
Even with the most thorough installation guide, pool owners often encounter frustrating setbacks that can compromise their new liner’s appearance and longevity. Measurement errors are particularly damaging—never shrink dimensions to force a tight fit or ignore geometric features like steps and slopes.
Surface preparation is equally critical for a professional result:
- Clean thoroughly – Remove all debris from coping tracks and repair any cracks or unevenness in walls/floors
- Use proper padding – Apply liner pad to prevent abrasion on uneven surfaces
- Replace all components – Install new gaskets and faceplates rather than reusing worn parts
Avoid installation during extreme temperatures, as heat above 90°F causes excessive stretching. Don’t rush the process—hasty installation often leads to wrinkles that will frustrate you for years to come.
Extending the Life of Your New Pool Liner
The effort you put into installing your new pool liner deserves protection through proper ongoing maintenance. To maximize your liner’s lifespan, maintain water pH between 7.4-7.6 to prevent wrinkles and skin irritation. Balance chlorine levels carefully—excessive concentrations accelerate liner degradation, even in saltwater pools.
Never mix chemicals simultaneously, as this can create damaging imbalances. Conduct regular water tests to monitor alkalinity and calcium hardness. When winter approaches, invest in a heavy-duty cover that blocks UV rays and keeps debris out.
Don’t ignore small tears—patch them immediately with a repair kit before they expand into costly problems. When replacement time eventually comes, professional measurements will guarantee your next liner fits perfectly, avoiding premature wear from improper installation.
Troubleshooting Issues With a Newly Installed Liner
Successful installation of your new pool liner doesn’t always guarantee trouble-free performance. Even with careful planning, you might encounter post-installation challenges that require immediate attention.
Watch for these common issues:
- Installation wrinkles or unevenness – Often caused by inadequate surface preparation or inaccurate measurements. Smooth these out before adding more water.
- Liner shifting or pulling inward – Check for loose top rails, dislodged beads from coping tracks, or insufficient shims. Address immediately to prevent further displacement.
- Water filling problems – Fill slowly while monitoring alignment. Pause at 12″ to verify vacuum seal integrity and check for leaks in plumbing before continuing.
Don’t ignore small issues—they typically worsen over time and may void your warranty.
Conclusion
Replacing your pool liner doesn’t have to be overwhelming. You’ve learned the warning signs, explored your options, and discovered the installation process. Whether you choose to DIY or hire professionals, proper measurements and quality materials will guarantee success. Remember: maintain it diligently, address issues promptly, and enjoy it thoroughly. With your new knowledge, you’ll make the right choices for a beautiful, leak-free pool that lasts for years.