When relining your pool, do thoroughly clean and repair the surface, choose quality materials suited to your climate, and guarantee proper measurements. Don’t rush the curing process, skimp on preparation, or ignore underlying structural issues. Consider professional installation for complex pools, as DIY efforts risk improper fitting and voided warranties. Properly maintaining your new liner’s chemistry balance and avoiding harsh cleaners will substantially extend its lifespan and protect your investment.
Signs Your Pool Needs Relining
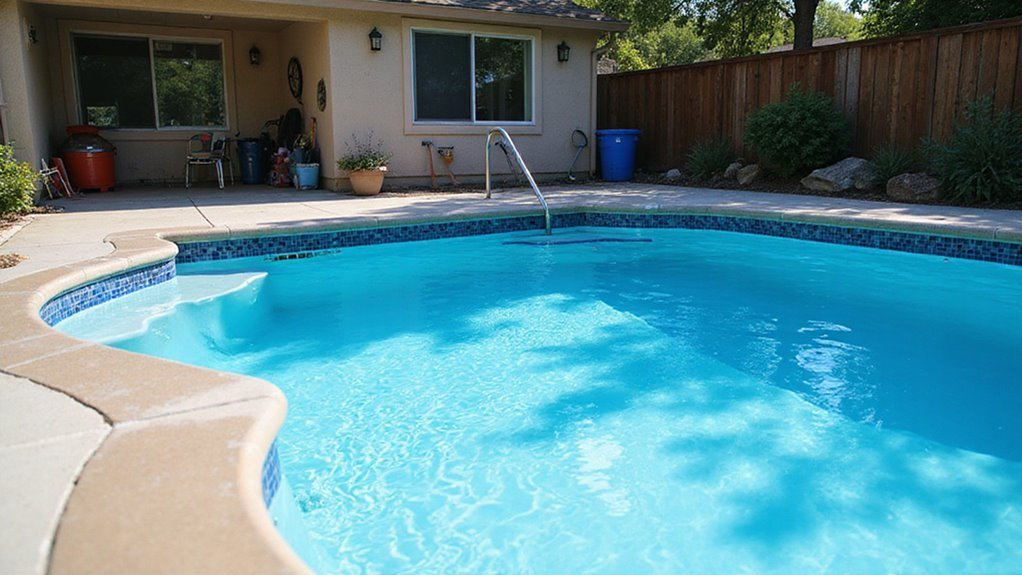
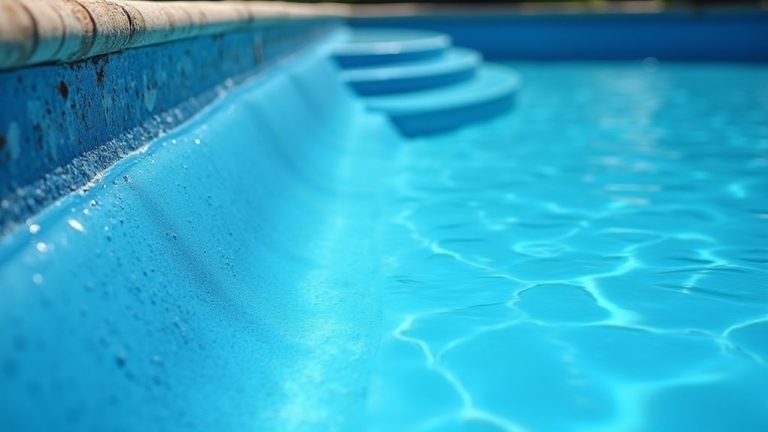
How can you tell when your pool’s surface is crying out for help? Look for visible cracks on the surface, walls, or floor. These aren’t just cosmetic issues—they compromise your pool’s structural integrity and signal potential trouble beneath.
Cracks typically develop due to age, ground movement, or installation problems. When you spot them, you’re seeing warning signs of underlying issues that need immediate attention before they lead to leaks or more extensive damage.
Don’t wait until water starts seeping out. Lower levels of pH balance can accelerate damage to pool surfaces and equipment. Always make sure to notify lifeguards of any concerning structural issues when swimming in public pools. These surface imperfections will only worsen with time, dramatically increasing your maintenance costs. Persistent stains and discoloration that won’t brush out are clear indicators that resurfacing is necessary. If you notice any questionable cracks or chips, call a professional to assess whether relining is necessary. Addressing these signs early saves you money and extends your pool’s lifespan. Cracks can seriously impact both your pool’s appearance and functionality.
Essential Materials for a Successful Pool Relining
Once you’ve recognized the signs that your pool needs relining, selecting the right materials becomes your next important decision. Reinforced PVC liners offer excellent durability with thicknesses between 0.45–1.5mm, providing resistance to abrasion while maintaining watertightness even in compromised structures.
Choosing the right pool liner material is crucial after identifying relining needs—durability and performance must align with your budget constraints.
For a more permanent solution, consider fiberglass with its non-porous structure that resists staining and UV damage. It requires minimal maintenance and eliminates recurring replacement costs associated with other materials. Many pool owners prefer fiberglass over vinyl liners for its superior durability and long-term value.
While concrete and gunite provide superior customization options, they come with higher upfront costs and maintenance demands. If aesthetics matter, Pebble Tec surfaces outperform basic plaster with better chemical resistance and longevity, though at a premium price.
Choose materials that balance your budget constraints with long-term performance expectations.
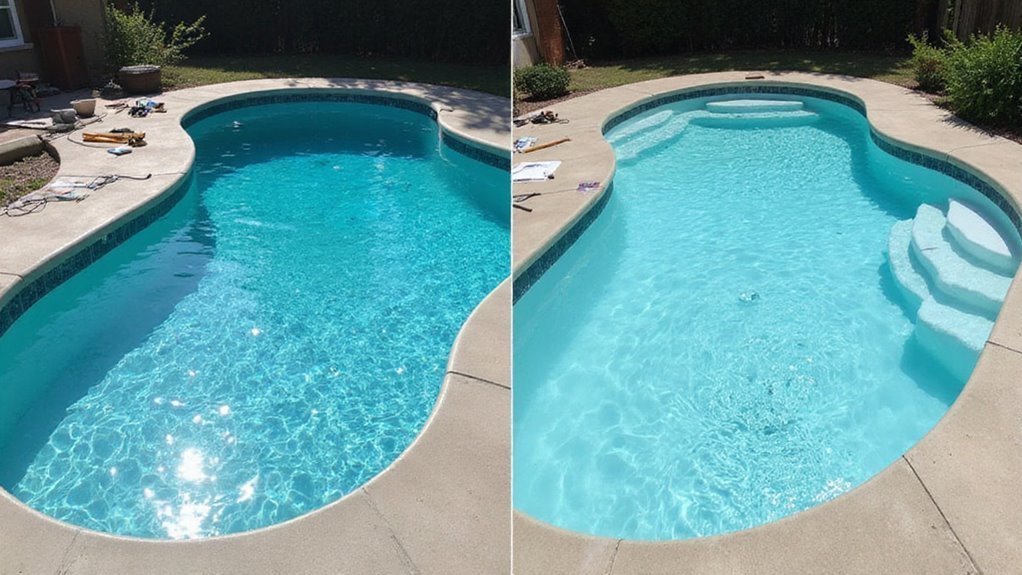
Critical Preparation Steps Before Installation
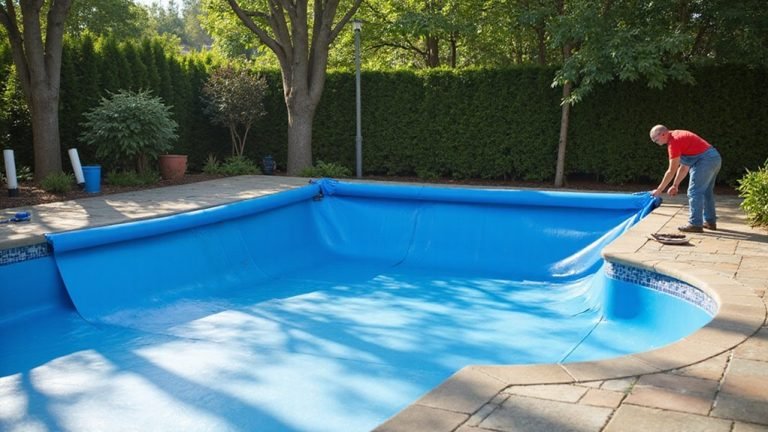
A successful pool relining project hinges on meticulous preparation work that can’t be rushed or overlooked. You’ll need to begin with a thorough examination of your pool’s condition, inspecting the liner for wear, leaks, and structural issues. Document all damage areas to create your repair plan.
Next, drain your pool completely and carefully remove the old liner without damaging the underlying structure. Thoroughly clean all surfaces using pressure washing or sandblasting to guarantee a clean base for the new liner.
Don’t skip the critical structural repair phase—patch any cracks, repair uneven surfaces, and etch the surface for better adhesion. Pay special attention to your pool’s hydrostatic plug and document existing plumbing systems before disassembly. These preparation steps guarantee your new liner will function at its best for years to come.
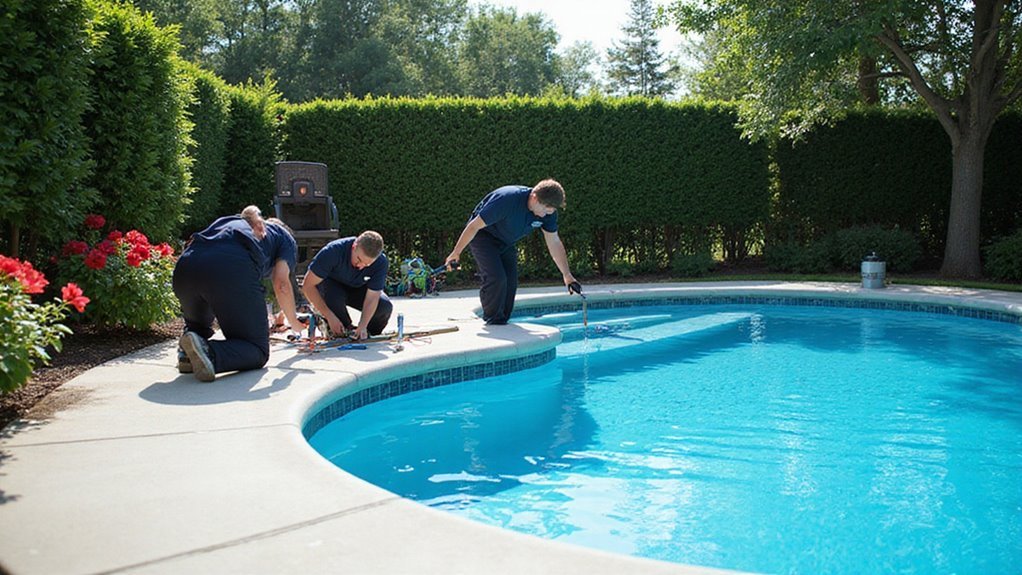
Professional vs. DIY Pool Relining: Making the Right Choice
When deciding between professional installation and doing it yourself, the pool relining choice represents a significant investment with long-term implications for your pool’s functionality and appearance.
Consider your skill level, budget, and timeline honestly. While DIY costs range from AED 2,000-6,000 versus AED 3,500-9,000 for professionals, the savings come with risks. Professionals guarantee precise fitting, proper sealing, warranty protection, and faster completion.
Choose professionals for structural repairs, equipment installation, leak detection, or safety-critical work. DIY pitfalls include material misselection, installation errors, voided warranties, and inadequate adhesion—all potentially costing more in the long run.
Some tasks demand professional expertise—pool projects with structural, technical, or safety implications are simply not worth the DIY risk.
Your decision ultimately depends on balancing immediate savings against potential issues. For simple relining of structurally sound pools, DIY might work. For complex situations or warranty protection, professional installation offers greater peace of mind.
Common Mistakes to Avoid During the Relining Process
Pool relining disasters often begin with seemingly minor oversights that cascade into major problems. Neglecting proper surface preparation—failing to clean debris, repair cracks, or acid wash—virtually guarantees adhesion failure and shortened liner life.
Don’t choose materials based solely on price or aesthetics. Your liner must withstand your specific climate, water chemistry, and usage patterns. Inappropriate selections lead to premature deterioration.
Never ignore underlying structural issues like foundation cracks or outdated mechanical systems. These problems won’t disappear with a new liner—they’ll only worsen.
Watch application details carefully: rushing curing times, applying materials in improper conditions, or using incorrect mixing ratios can ruin results. Finally, budget realistically, including contingencies for unexpected repairs that inevitably arise during pool renovation.
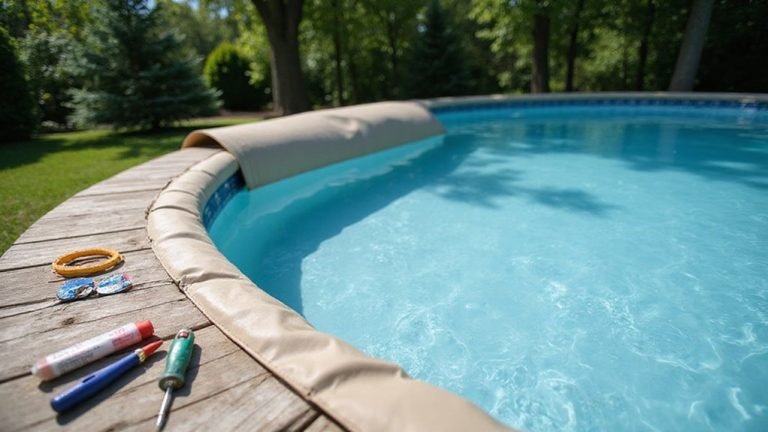
Maintenance Tips to Extend Your New Pool Liner’s Life
Your new pool liner represents a significant investment that deserves proper care to maximize its lifespan. Maintain pH levels between 7.0-7.6 and test water chemistry twice weekly to prevent premature deterioration. Never add chlorine directly to the pool—dissolve it first to avoid damaging contact with the liner.
Clean the waterline every other month with vinyl-specific cleaners, and brush the liner weekly using soft-bristle tools. Avoid wire brushes or harsh chemicals that can scratch or weaken the material.
Never drain below one foot of water in the shallow end, as this causes shrinkage. Use ladder bumpers and soft-soled footwear to prevent punctures. Schedule professional inspections annually and address small issues promptly before they become costly problems.
Cost Considerations and Budgeting for Your Relining Project
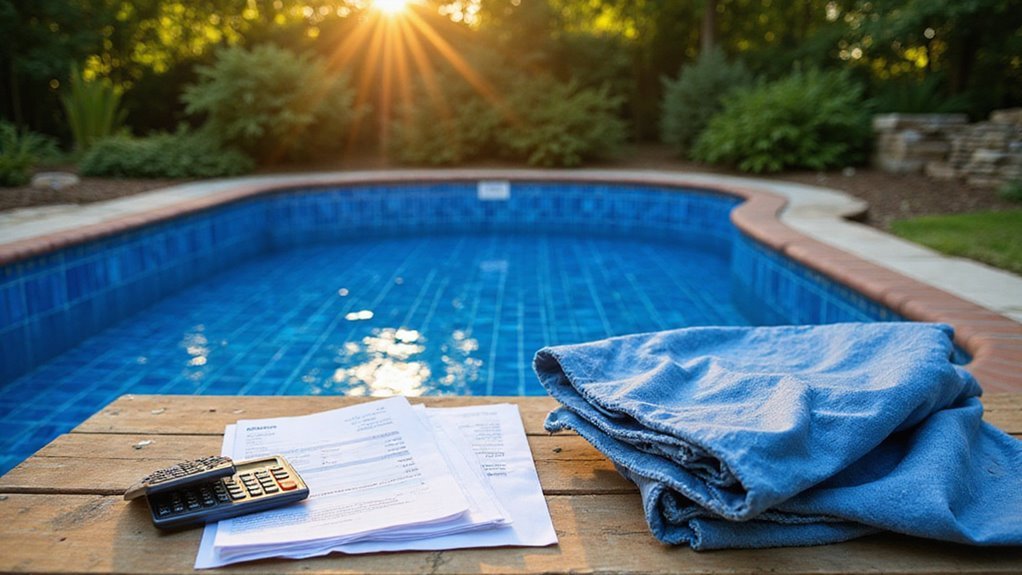
Budgeting properly for a pool relining project can prevent unwelcome financial surprises and guarantee your renovation proceeds smoothly. Expect to spend $1,000-$3,500 per 1,000 square feet for vinyl liner replacement, with larger pools commanding higher prices.
Don’t forget to include draining ($175-$225), refilling ($55 per 5,000 gallons), and cleaning ($250) in your calculations. Set aside 10-15% as a contingency fund for unexpected issues like structural cracks.
You’ll save money by scheduling work during off-peak seasons and bundling repairs. Consider the long-term ROI too—premium materials last 10-20 years versus 5-7 years for cheaper options, and well-maintained pools can boost property value by about 7%. Balance upfront costs with durability for the best value.
Conclusion
By following these do’s and don’ts, you’ll guarantee your pool relining project succeeds with minimal headaches. Remember, proper preparation is your best investment. The Johnson family in Miami saved over $3,000 by correctly preparing their pool surface before installation, while their liner has lasted three years beyond its warranty. With the right approach, your relined pool will provide years of worry-free enjoyment.