Yes, you can fix an above ground pool liner yourself for many common issues. Small tears and punctures can be repaired with vinyl patch kits and underwater adhesives without draining your pool. Clean the damaged area thoroughly, apply the appropriate patch with waterproof adhesive, and allow proper curing time. Early detection and prompt action save you from costly full liner replacements. The right techniques will extend your liner’s life substantially.
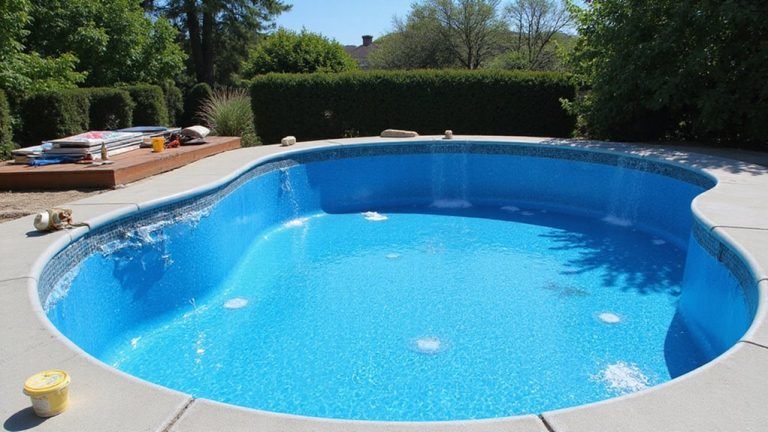
Common Types of Above Ground Pool Liner Damage
Above ground pool liners face various types of damage that can shorten their lifespan. UV damage is one of the most common issues, causing fading and weakening, particularly along the waterline where sunlight exposure is highest.
Chemical imbalances can wreak havoc on your liner. Excessive chlorine or bromine may bleach the material, while improper pH or calcium hardness levels often lead to staining and discoloration. You’ll notice localized whitening in areas where undissolved chemicals have concentrated. Regularly testing the water chemistry can help prevent expensive liner damage before it occurs.
Many pool owners experience uneven fading, especially on steps, edges, and other high-traffic areas. These sections might require specialized protective covers like BorderLines to prevent premature deterioration. Tears and rips in vinyl can be repaired with patch kits if they’re relatively small and not in stressed areas. Regular inspection of these vulnerable areas will help you identify problems before they worsen. Sharp objects like tools, toys, and debris should be kept away from the pool as they can cause punctures and tears to the liner. A good-quality pool liner should last approximately 10 years with proper maintenance and care.
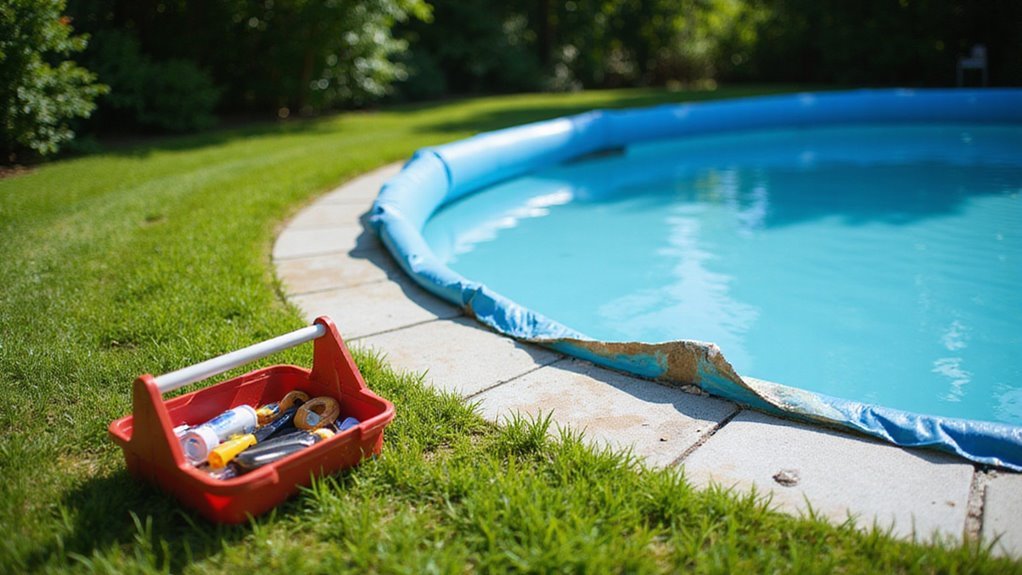
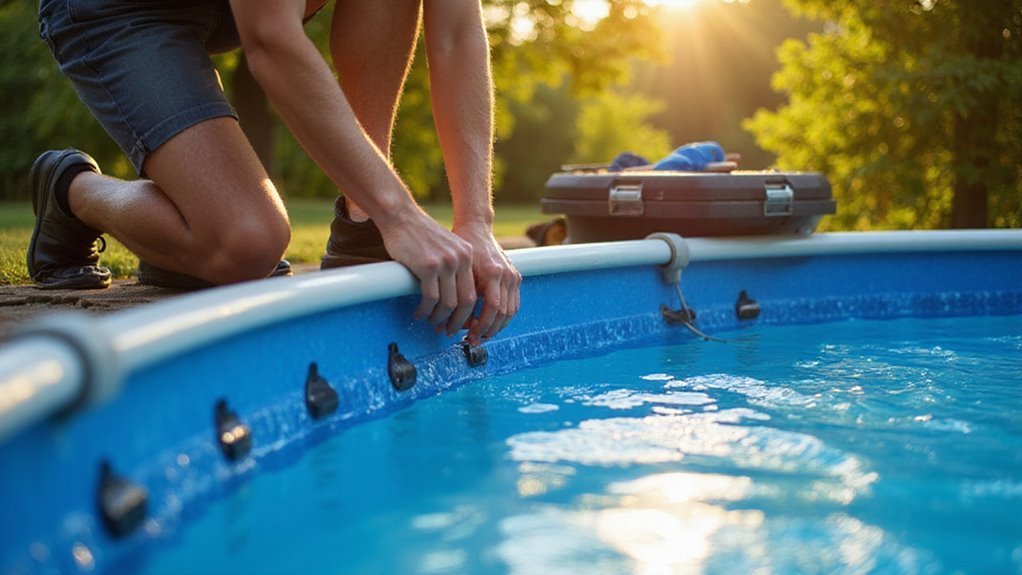
Essential Tools and Materials for DIY Liner Repairs
Having identified the common damage your above ground pool liner might suffer, you’ll need the right tools and materials to perform effective repairs.
For underwater fixes, you’ll want a vinyl liner repair kit with adhesive and clear patches. Pool putty works well for sealing cracks across multiple surfaces. Keep underwater caulk handy for leaks around fittings and skimmers. Swimline offers effective vinyl repair kits that can be used underwater or above to seal cracks, seams, and fix leaks.
Your tool arsenal should include a submersible pump for draining when necessary, a cyclone blower for removing wrinkles during installation, and basic tools like screwdrivers and measuring tape for hardware maintenance and alignment.
Don’t forget preparation supplies like masonry sand for leveling uneven floors, liner pad to protect against abrasion, and duct tape for temporarily securing edges. Swellable silicone plugs and pool plugs are essential for isolating sections during more complex repairs.
Step-by-Step Guide to Patching Small Tears
Patching small tears in your above ground pool liner can save you from costly replacements when addressed promptly. Before diving in, assess the tear’s size, location, and your liner’s age to determine if a patch is appropriate. Remember that tears near seams or in aging liners may require professional attention.
To successfully patch a small tear:
- Clean the tear area thoroughly, removing debris, oils, and algae buildup
- Cut a vinyl patch 2-5 times larger than the tear with rounded corners
- Dry-fit the patch first and mark boundaries for precise placement
- Apply adhesive evenly to the patch’s back surface only
- Press firmly and hold the patch in place, following kit instructions for drying time
Wear protective goggles during underwater repairs and consider temporary measures like duct tape if needed while sourcing proper materials.
Handling Large Rips and Complex Damage
Large rips and complex damage require specialized techniques beyond basic patching methods. When facing extensive tears, cut patches that are twice the size of the damaged area to guarantee proper coverage. Tears near seams or corners with hollow spaces beneath need extra attention—reinforce these vulnerable spots with styrofoam or wood backing before applying your patch.
For maximum structural integrity, layer multiple patches on major tears and embed them directly into liner seams when possible. Pay special attention to return outlet areas which face higher pressure risks. Apply underwater cement adhesive on both interior and exterior surfaces, and secure patches with clamps during curing. For aesthetics, use color-matched patch material that aligns with your liner. If tears occur near corners or jets, you’ll need to implement overlapping patches to distribute water pressure evenly.
When to Repair vs. When to Replace Your Liner
Making smart repair decisions requires understanding when patching can extend your liner’s life and when replacement becomes the more practical option. As you evaluate your liner’s condition, consider these key factors:
- Small tears (1-2 inches) and minor leaks (less than 1″ water loss weekly) can typically be repaired with vinyl patch kits
- Multiple widespread cracks or a liner that’s slipping from its tracks indicates replacement is needed
- Age matters – liners over 10 years old warrant replacement even without visible damage
- Brittle, substantially faded vinyl won’t hold patches effectively and should be replaced
- Early intervention with small repairs can prevent structural damage to your pool frame and save thousands
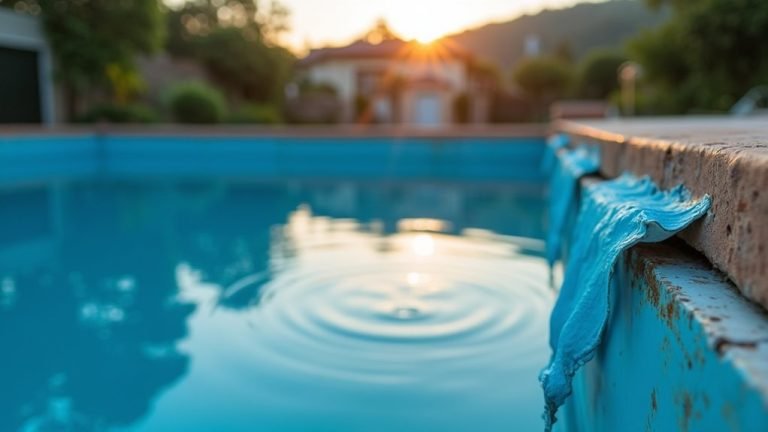
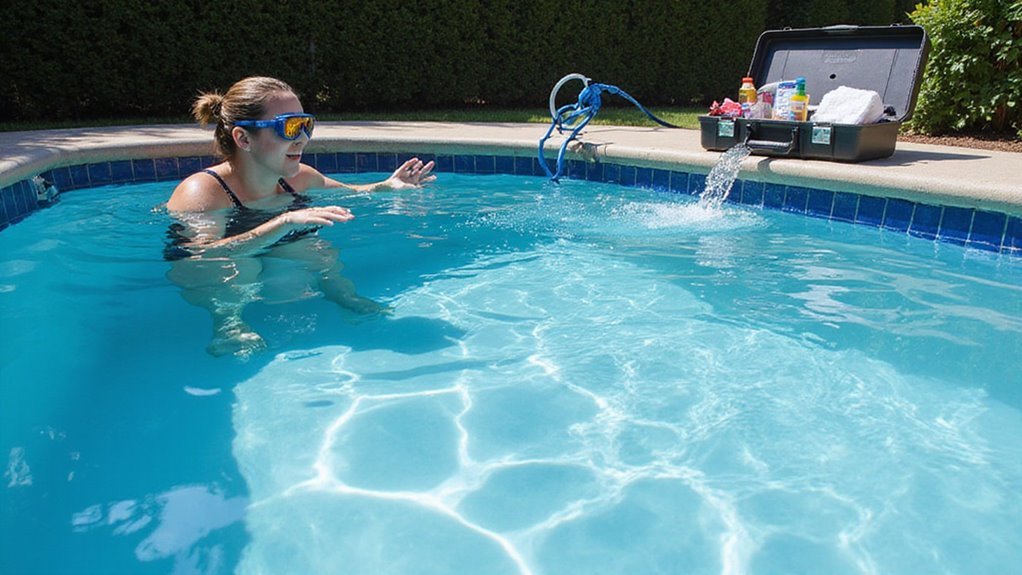
Underwater Repair Techniques That Actually Work
While many pool owners believe underwater repairs require draining their pool first, you can effectively fix liner tears without removing a drop of water. In fact, keeping water in your pool helps maintain structural integrity and prevents liner brittleness.
Start by confirming the leak using a bucket test or ink method to trace water flow. Then thoroughly clean the damaged area with a non-abrasive scouring pad or alcohol wipe to remove algae, dirt, and sunscreen residue that could prevent adhesion.
When selecting your patch, choose one that extends 2-3 inches beyond the tear edges for secure bonding. This overlap guarantees the repair will hold despite water pressure and regular pool use. Proper preparation is vital—inspect the area for additional damage that might compromise your repair.
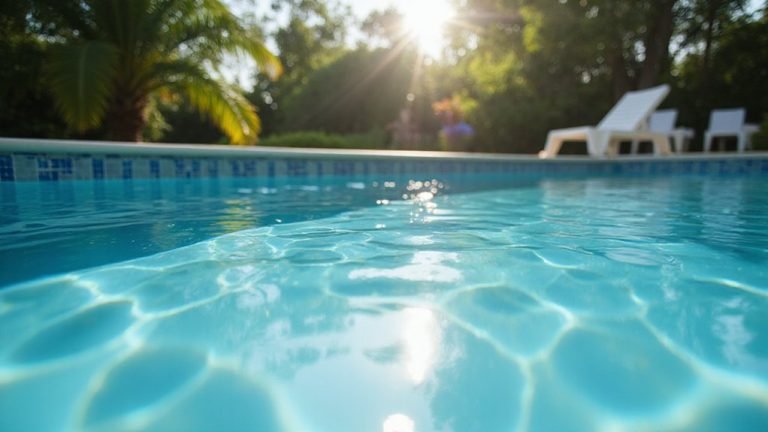
Preventing Future Liner Damage
Now that you’ve mastered underwater repairs, let’s focus on prevention—after all, the best fix is the one you never need to make. Proper installation forms the foundation of liner longevity. When setting up or replacing your liner, always install on warm days when temperatures exceed 80°F to guarantee proper adhesion and prevent material shrinkage.
Prevention is the ultimate repair strategy—proper installation in warm weather creates the foundation for a long-lasting pool liner.
To maximize your liner’s lifespan and avoid punctures:
- Lay geotextile liner pads like Armor Shield beneath the liner to protect against rocks, roots, and debris
- Create a smooth floor using sand or vermiculite before installation
- Remove sharp objects and debris from the pool area regularly
- Maintain proper water chemistry to prevent material degradation
- Avoid dragging heavy or sharp objects across the liner surface
Cost Comparison: Professional Repairs vs. DIY Solutions
The decision between hiring professionals or tackling pool liner repairs yourself ultimately comes down to dollars and cents. While professional repairs guarantee quality work and maintain warranties, DIY solutions offer significant cost savings.
| Repair Type | Professional Cost | DIY Cost |
|---|---|---|
| Patch/Small Hole | $100-$500 | $10-$30 |
| Bead Replacement | $130-$300 + labor | $130-$300 |
| Complete Liner | $1,000-$2,500 | $150-$900 |
When deciding, consider that professionals eliminate installation errors and provide warranty coverage, but you’ll pay premium rates for labor, accessibility, and water services. DIY repairs save on these costs but introduce risks of improper installation and voided warranties. Your comfort with pool maintenance and the severity of damage should guide your choice.
Seasonal Maintenance Tips for Extended Liner Life
Proper seasonal maintenance represents your best defense against premature liner deterioration and costly replacements. By adapting your care routine to each season, you’ll maximize your liner’s lifespan while minimizing repair needs.
- Lower water levels below the skimmer line before winter to prevent ice expansion damage
- Clean thoroughly and balance water chemistry (pH 7.2-7.8) before seasonal shifts
- Perform bucket or dye tests during opening/closing to detect small leaks early
- Use soft-bristled brushes for weekly cleaning to avoid abrasion damage
- Apply winter covers securely to shield from debris and extreme temperatures
Don’t forget to address chemical imbalances promptly after heavy rain or temperature changes. Regular inspections of seams, fittings, and attachment points will help catch minor issues before they require complete liner replacement.
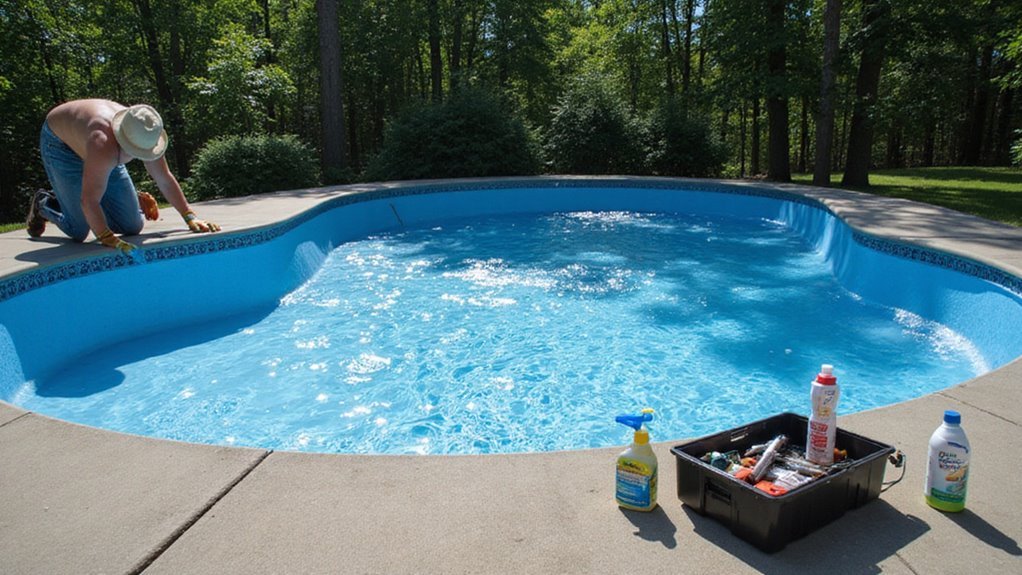
Troubleshooting Failed Repair Attempts
Failed repair attempts represent one of the most frustrating aspects of above ground pool maintenance—often leading to wasted time, increased costs, and growing frustration. When diagnosing why your repairs didn’t hold, first examine your preparation process—inadequate cleaning of oils, algae, or sunscreen residue will prevent proper adhesion.
Consider environmental factors: patches exposed to direct sunlight before curing often fail prematurely. If your liner keeps slipping, check for track damage or missing retainer wedges. Multiple stretching attempts reduce the material’s plasticity, making permanent fixes impossible.
Common errors include using inappropriate patch kits for larger tears, draining water too early (causing liner shrinkage), and ignoring hydrostatic pressure effects on underwater repairs. Remember that all patches have a finite lifespan of 2-5 years before requiring replacement or reassessment.
Conclusion
You can definitely fix minor above ground pool liner damage yourself with the right tools and approach. For larger issues, weigh repair costs against replacement. Remember, a well-maintained liner can last up to 12 years, while neglected liners typically fail within 5-7 years. By following proper maintenance routines and addressing problems quickly, you’ll maximize your investment and enjoy worry-free swimming seasons.